Word: Mail Merge
Objectives
General
Students will:
- Be able to create lists that will work for Mail Merge
- Understand Mail Merge options
Specific
Students will:
- Be able to create lists in both Word and Excel that will function with Mail Merge
- Be able to create a Mail Merge Document
- Be able to use Mail Merge to create:
- Labels
- Envelopes
Outline
- Intro
- Hook
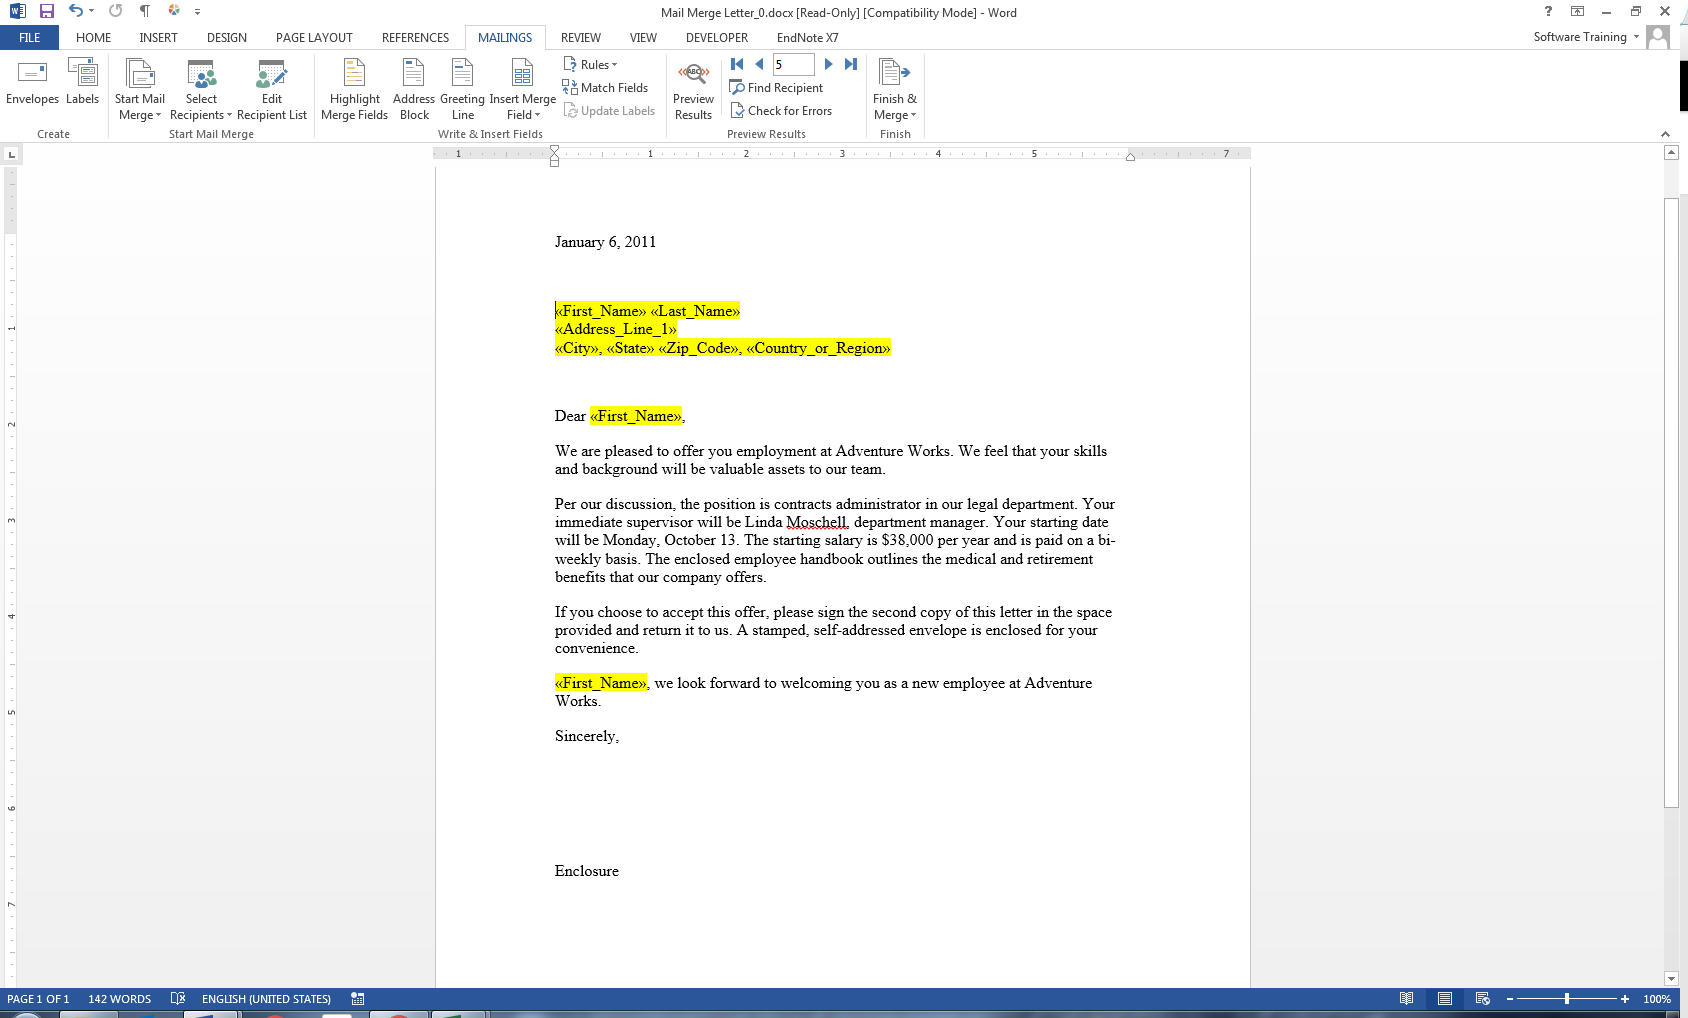
- Mail Merge Wizard (Use the mail merge wizard and go through setting up a mail merge)
- Select Recipients
- Creating a list in Word
- Creating a list in Excel
- Edit Response List Button
- Create a Mail Merge document
- Finish and Merge
Hook
Use an image of your own or show them what the completed mail merge looks like in word with the multiple documents with the different address.
Possible Questions for Understanding
- Mail Merge Wizard
- How do we open the Male Merge Wizard?
- How do we go back and forth through options on the Mail Merge Wizard?
- Mail Merge Document
- How do you add merge fields to a document?
- What type of merge fields should be used for?
- Greetings
- Addresses
- Names within a document
- How do you import a list from an excel sheet?
- Mail Merge Email
- How do we create a database of emails?
- How is a Mail Merge email different than a document?
WORD MAIL MERGE
• Mail Merge takes a document with specific areas that will remain the same and areas that will become fields for you data, and merges it with a data source to create multiple personalized letters, emails, labels, envelopes, etc.
(A really easy way to make the mail merge simple for letters, emails and the male merge document options is to follow the Mail Merge Wizard)
- Create a Mail Merge Document (use highlighting technique if desired)
- Choosing a Data Source (without data source, mail merge document cannot be changed)
- Create Directory
- Select Recipients
- Excel
- Insert Merge Fields
- input first name after Dear, then introduce the Greeting Line option
- Address Block
- Preview Field options
- Find
- Left/Right navigation
- Finish Merge
- Edit Individual Files
- Repeat steps above but follow the email path and use the email section in the excel database file or by creating your own list)
- Have the class follow the mail merge for the envelopes
- If you have time, go over making labels
CREATING ENVELOPES
• Start Mail Merge, Envelopes, choose the size of the envelope, the location of return and send addresses, and how the printer should print them
• Select a data source, use Existing list
• Insert Address Block and set the settings for your address.
• Don’t worry about the placement, because it was already set in your first dialog box. It just appears in the upper right.
• If you want to make it all caps, open the Font dialog box, and choose All caps.
CREATING LABELS
• Start Mail Merge, Labels, choose the label vendor you are printing on, find Product #
• Select your data source
• Word has a document full of Next Record fields, insert your first Address Block and choose Update Fields, then remove the spacing.
• Normally just send it to the printer.


