Procreate Day 2: Layers and Masks
This day is all about the big advantages of digital art: layers and masks. These are fundamental concepts to using Procreate, but they can be difficult to understand at first. Students who have used Photoshop before will likely grasp on very quickly, but if Procreate is their first layer based program it can take a while.
Objectives
Students will:
- Draw quick shapes
- Use layer menu options
- Change blend modes
- Understand different Mask options
- Use Masks effectively
- Apply adjustments
- Add text layers
Outline
Quick Shapes
Layer Menu
Blend Modes
Adjustments
Text
Example Lesson Plan
Remember this is just an example to help you out. You should write your own lesson plan.
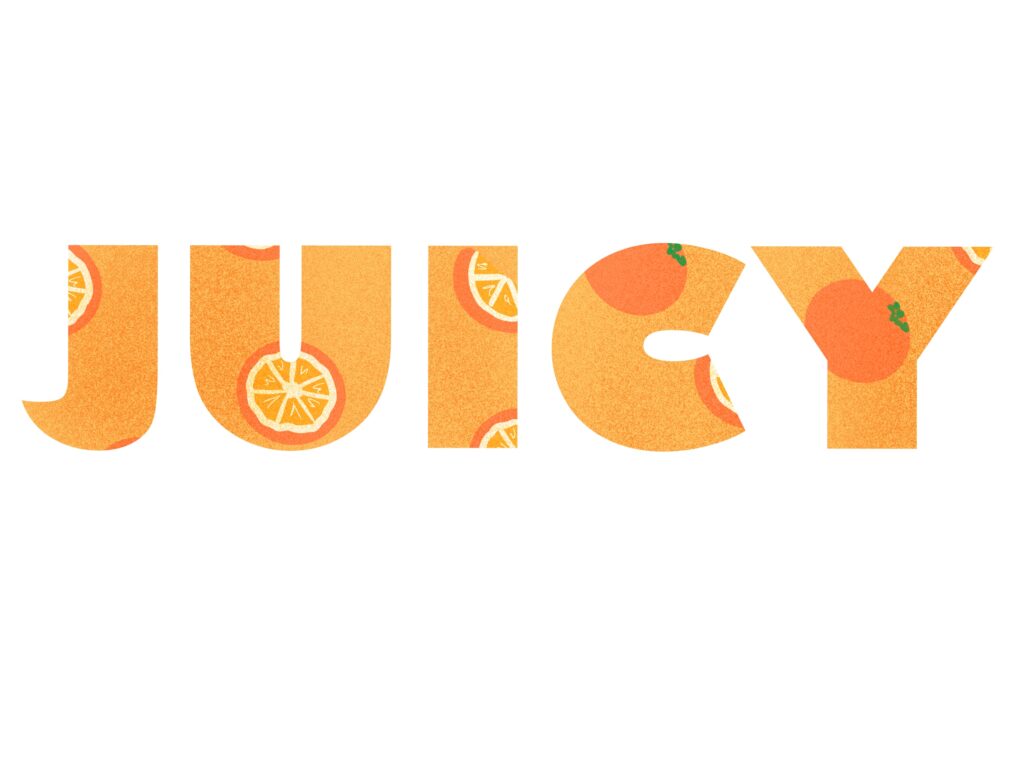
Hook: Example of cut-out words

Intro (5 min):
- Did anyone continue work on their map or draw something else they would like to share?
- Tell us what your favorite thing to draw is
- Any questions since last time?
Make a new document to practice on
Quick shape (2 min)
- A quick shape is where the program will help to clean up your lines
- You draw and then hold for a second
- After the quick shape snaps you can change the size and orientation if you don’t lift your pencil off the screen
- When you lift off the “edit shape” option will appear and you can change the shape it chose and individual points
- once you tap away this become permanent
How would the quick shape be useful for the type of art you like to do?
Demo: Layer menu, blend modes, adjustments (5 min)
Layer Menu:
- Hide or reveal with check mark
- Swipe left to lock, duplicate, delete
- Tap on rectangle to the right of “layer 1” to see layer menu
- Explain copy, select, fill
- Alpha lock- very important
- draw a shape, fill it in, select alpha lock and draw stripes to show how it clips anything you draw to what’s on the layer already
Blend modes
- Determine how the layer interacts with layers below it
- Most are based on light and darkness
Does anyone have examples for when they use blend modes in procreate or another art program?
Adjustments
- These allow you to (destructively) change a layer’s look. usually a good idea to duplicate the layer before you do it
- Erase everything, or start new canvas
- Work horizontally
- New layer, fill it with color (it won’t work if you just change background color)
- Draw fruit, 3 versions of it
- Color drop to fill quick shapes
- Duplicate this layer, three finger swipe
- Move tool, move duplicate to a new spot on page, create a patterned wallpaper
Activity: (5 minutes) Keep making new layers of fruit and follow the same process, we will come around to help, try to fill entire page
Adding Text
- Why would we add text instead of handwriting? When is one better than the other?
- Tap wrench icon
- Under add tab, tap add text
- Type in a word of your choice
- Gill sans extra bold, scale it big
- Q: Can anyone tell me how masks work?
- It’s like having a face mask on, you only see part of what is underneath, what you choose to uncover
- Black hides, White reveals
Clipping Masks – Masking Text
- A clipping mask “clips” itself to the layer beneath it, only appearing on what’s been drawn on the lower layer.
- Move the background so it’s just above the text layer
- Click on the layer to get to the Layer Menu and click on “Clipping Mask”
Adding Texture
- Go back to last layer of fruit, add new layer
- Find a funky brush, multiply blending mode, experiment with texture for words
- Noise brush is good!
- Texture is super important in art
3D
You can look at 3D models and PAINT ON THEM in Procreate!
Basics of 3D modeling:
Textures – flat image files that the program wraps around the model
New 3D tab in the top, toggle “show 2D texture”
- Can draw on either the model or the texture, with differing results.
- texture s have to meet up somewhere–back of roller skate, zoom in
Layers: per texture, therefore per part
- Hide layer, hide texture, hide model
- Always make a new layer!!–non-destructive editing
- Drawing–can’t draw through models, not like regular layers
- If you really want to, you can hide the other objects and ust draw directly on the one texture/model
Editing lighting and Evinronment under 3D tab
- Thee little boxes are the lights, you can move them around, and change color and intensity
- When you move the object, you are moving it, not the camera. If you put a light somewhere, e.g. the left side, the light will always be coming from teh left side, o matter how you move the model. E.g. the camera doesn’t move, the model does.
- Environment presets, dif. Types of lighting.
- Fun fact, you can see it in the reflection of the sunglasses
Augmented Reality
- Procreate lets you see the model in your camera, by going to the Wrench>3D>View in AR
Conclusion
- Thanks for coming
- Next time is all about animation
