Day 1
Photoshop is a powerful graphics editor program. In this 6-session Foundations class, you will use versatile tools to enhance your photos and images, touch up and restore your photos, and gain a basic understanding of the key elements of the program.
Day 1: Intro to Photoshop
Objectives
Practice files: files.learnsoftware.org/photoshop
General Learning Objectives:
- Understands Photoshop’s uses
- Performs basic image edits using photoshop
Specific Learning Objectives:
- Knows difference between raster and vector
- Knows when to use Photoshop to accomplish goals
- Knows what layers are in Photoshop
- Navigates Photoshop
- Crops pictures effectively
- Straightens pictures
- Edits Photos non-destructively
Outline
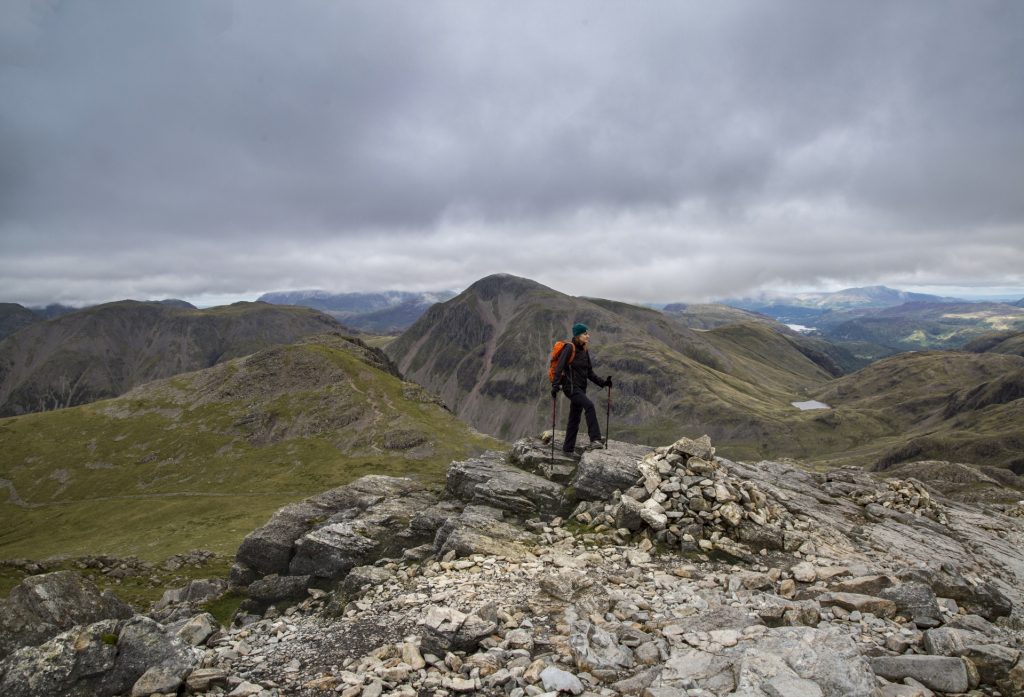
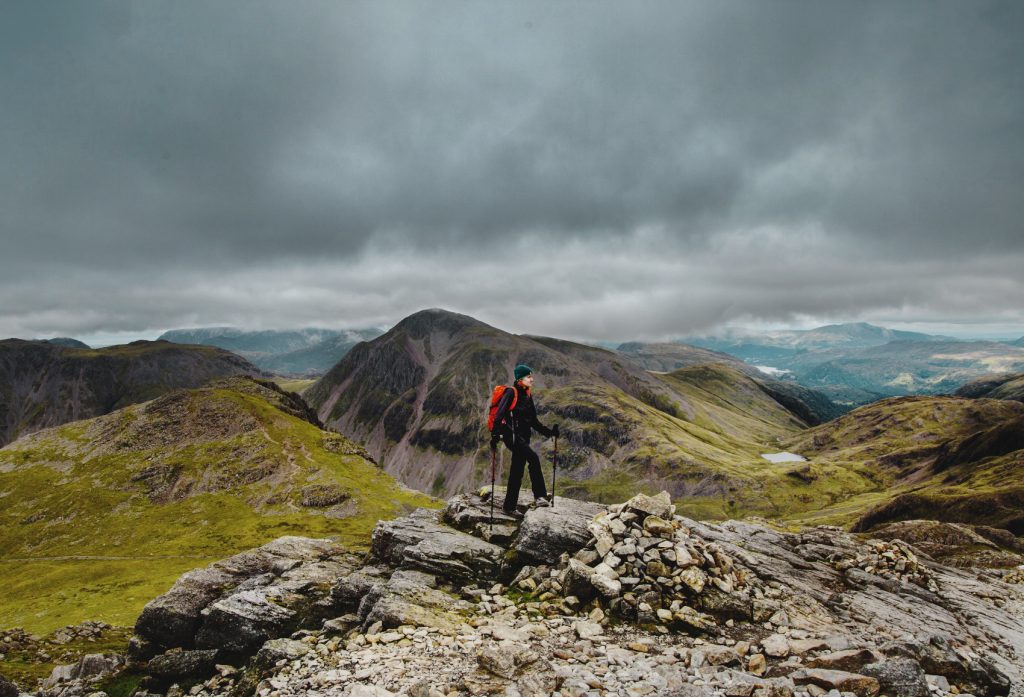
Hook: Show a before and after photo you created in Photoshop using only the day 1 tools.
Introduction:
- Names, positions, goals for class, etc.
- Find out their photoshop experience and comfort level.
- What Photoshop does
- Raster vs. Vector images
- When you should use Photoshop
- Tools
- Panels
- Control panel
- Menu Bar
- Zooming (alt+scroll wheel)
- The “discover” feature for when you can’t find a tool or feature (command/cntrl+F or the magnifying glass in upper right corner)
- Explain what Layers are
- The Layers_Pizza.psd file is good for demonstration here
- command+J for duplicating base layer
- Explain “non-destructive” editing
- Explain why you should always duplicate your base layer
- How to use the crop tool
- Non-destructive cropping (uncheck “delete cropped pixels”)
- How to use the straighten tool (found at the top when cropping)
- child-biking.jpg
- Use the same hiker picture from last class, or another image you want to use
- Dodge to lighten
- Burn to darken
- Specify midtones, highlights, or shadows
- Dodge and burn are destructive edits–copy layers to make it non-destructive
- underexposed.jpg
- File>Export As>Go over different options
- Quick Export as PNG for fast exports
- Explain the difference between JPEG and PNG
- Save as .psd to continue work later
Example Activity
- Have the students work with hiker.jpg and use the tools they learned today. They can:
- Crop and straighten the picture so the hiker is more centered
- Use dodge and burn tools to adjust the colors
- Save and export the file when they are done
If there’s extra time:
- Briefly introduce adjustment layers
- Types of adjustment layers
- Brightness/Contrast
- Vibrance
- Hue/Saturation
- Color balance
Conclusion
-
Recap: Today we learned
- What Photoshop is
- Why we use Photoshop
- Navigation in Photoshop
- How to use layers for non destructive editing
- How to make basic edits to a photo
-
Next time we will learn:
- Selections
- Adjustment Layers
Example Hook
A completed file that used all or most of the tools/skills to be taught that day.
Example Questions
- What is a raster image?
- What is a vector image?
- Why are layers significant?
- What is cropping?
- When would you crop a photo?
- Have you ever made adjustments or fixes to your photos before? What adjustments? What program did you use?


