Day 3
Masks and Digital Composting
Objectives
General:
- Uses Masks
- Combines images
Specific:
- Understands masks more deeply
- Makes masks
- Edits masks
- Makes advanced selections using Select and Mask
- Uses masks and layers to combine photos
Outline
Hook
- Scroll down for example hook
Introduction:
- Questions since last time?
- In what situations would you want to combine images?
Masks
- What masks are
- Painting on a mask
- Explain the concept of foreground/background color
- Shortcut X to quickly switch between the two
- Black=reveal, white=conceal
- Make a mask from a selection
- Inverting a mask (ctrl+i)
Using Masks to “cut out”
- Do the Mask Exercise file here
- Then show them they can apply that same concept using two images
Combine 2 similar images
- Log Road Block images
- Auto-align layers
- Create a mask
- Paint on the mask to bring second person in
- Select>Select and Mask
- This window will allow you to make more precise selections for masks
- Change view mode to the one you want (marching ants, onion skin, black & white, etc.)
- There are familiar selection tools here, but there’s a new one: refine edge brush tool
- Use this tool to make finer selections. This tool works really well with selecting hair/fur.
- Demonstrate by using a picture of someone with long hair (Red-Haired Girl.png)
- Quickly select the person, then refine the edges using the tool
- You can also make a feathered selection by upping the feather under “global refinements”
- A feathered selection will “fade in” instead of having a hard border
- Click “OK” when you are finished. You will see that a mask has been made from your selection.
Application: Use everything we’ve learned so far to Photoshop Garrett’s face onto Daniel Burbank’s (astronaut) face
- Make sure Daniel Burbank and Garrett are on two separate layers
- Use lasso tool to select Garrett’s face (just the face, not the head/hair)
- Select and Mask Garrett’s face
- Feather
- Re-size Garrett (cmd+T) so he’s aligned with Daniel
- Adjust the opacity of Garrett to do this easier
- Clipping masks with adjustment layers (to get Garrett’s face to look less corpse-like)
- Apply a color balance adjustment layer and increase yellow and red
- Use a clipping mask so it only applies to Garrett’s layer
Conclusion
- Recap:
- Selections
- Masks
- Combinations
- Next time:
- Photomerge for panoramas
- healing photos
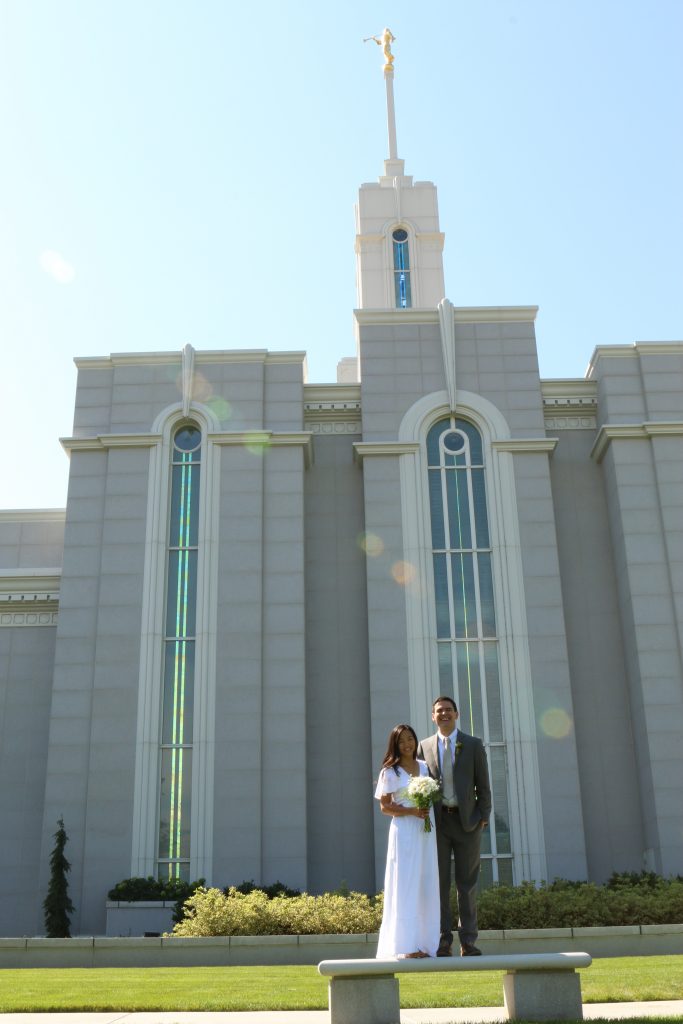
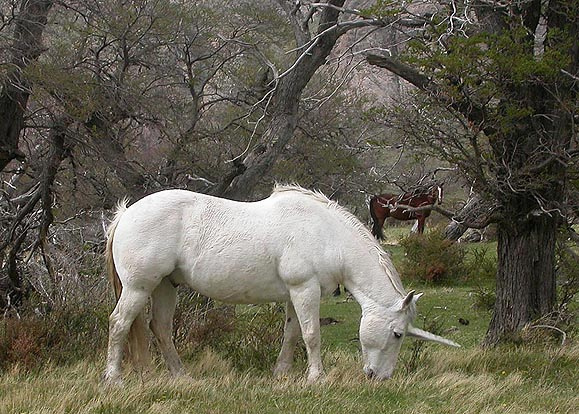
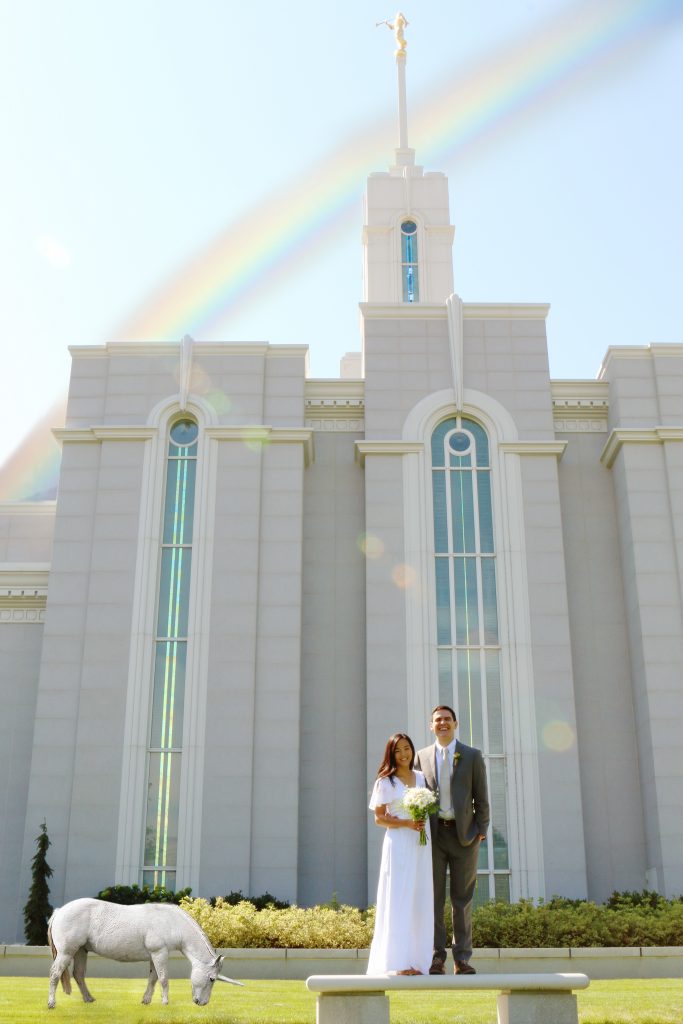
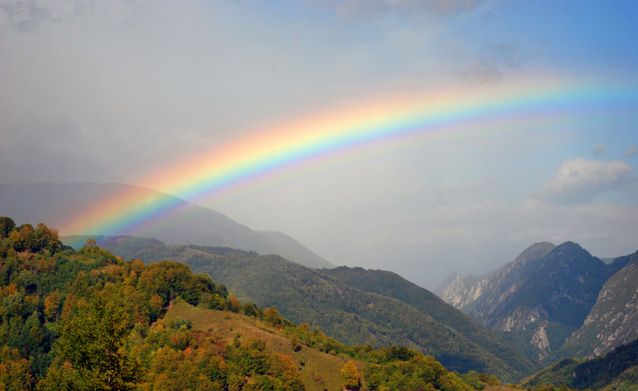
Example Hook
 +
+
 +
+
=

Example Questions
- In your own words how does a mask work?
- Explain the difference between black and white on a mask?
- In what situations would you combine photos?
- Why are masks considered non-destructive editing?
Example Activities and Files
- Follow along: have students follow along as you combine the CombineA.jpg and CombineB.jpg using selections and masks.
- Apply it activity: Have students place a photo of themselves (or one of ours) on a background of a famous place.
- Have students put their own face on a picture of someone famous

